I must govern the clock, not be governed by it.”
Golda Meir
You probably already know that having accurate time set on all clients and servers is important. Very bad things happen when computer clocks disagree. Things like:
- Users cannot logon to a domain
- Applications overwrite new data with older versions
- Servers fail to synchronize data between each other, causing version conflicts
- Financial transactions become subject to dispute
- Regulatory requirements are not met
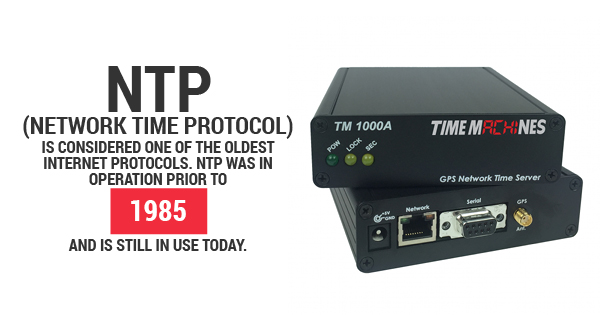
Luckily Windows has taken this into account. The Network Time Protocol (NTP) service has been built into Windows since Windows XP and Windows Server 2003, and most Unix and Linux implementations have supported NTP since they were first built.
Windows Client and Server Time Synchronisation
Unfortunately most Windows implementations do not use NTP as it is not enabled in many situations. One of those situations is a non-domain joined server. An unjoined system can function as both a NTP server and client, but it doesn’t do either by default.
I’ve already written about configuring a standalone Windows computer to function as
Use with 3CX Phone System
When I configure a 3CX Phone System, I place the IP Phones in their own Private VLAN which is only accessible from the 3CX Management Server. This then ensures that the IP Phones cannot be accessed by unauthorised users. However, by doing this, the IP Phones are unable to get their Time Configuration from the Internet or existing Active Directory Servers.
To combat this, I setup the 3CX Phone System Server as
Configuring Windows as a Standalone NTP Server
Windows implements the W32Time service as both an NTP client and server. The service is off by default. So configuring a system as an NTP server requires both enabling the W32Time service and configuring it as a server. The process is very simple.
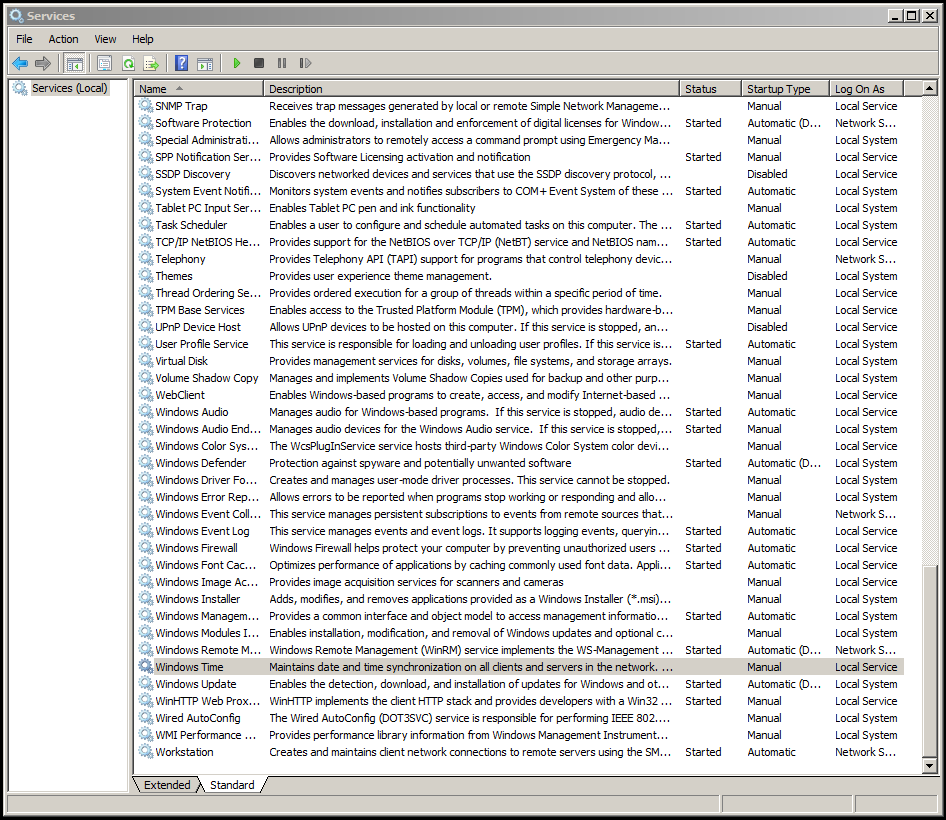
First, use the Services console to locate the Windows Time service. It will likely be off as shown in Figure 1.
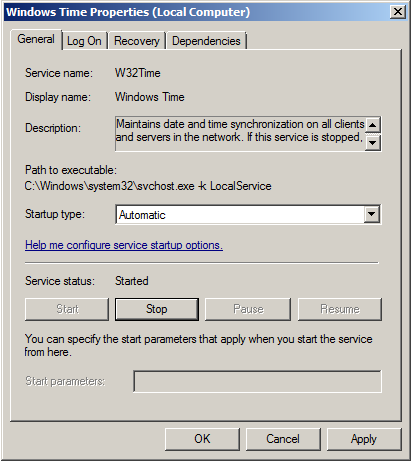
You need to both start the service and configure it for Automatic start as shown in Figure 2.
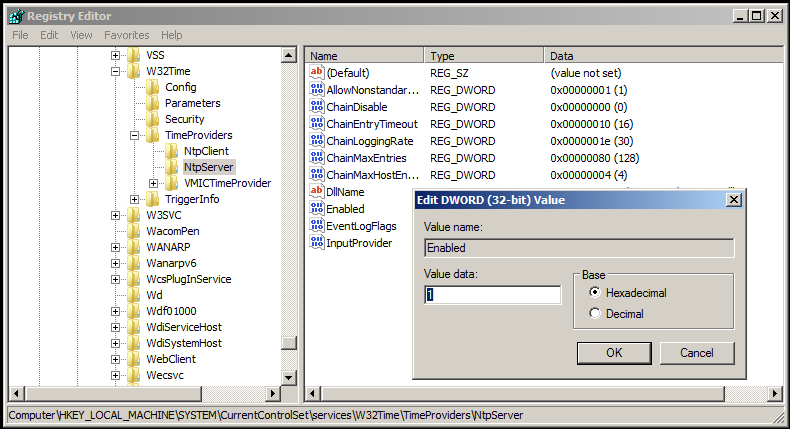
Enabling the NTP server service requires a quick registry modification. Open Regedit and navigate to HKEY_LOCAL_MACHINE \ System \ CurrentControlSet \ Services \ W32Time \ TimeProviders \ NtpServer and change Enabled from 0 to 1. This is shown in Figure 3.
The last step is to update the Windows Time service’s running configuration. You do this by opening a command prompt and typing the w32tm /config /update command. You can then verify that the NTP server service is enabled with the w32tm /query /configuration command. Both of these are shown in Figure 4.
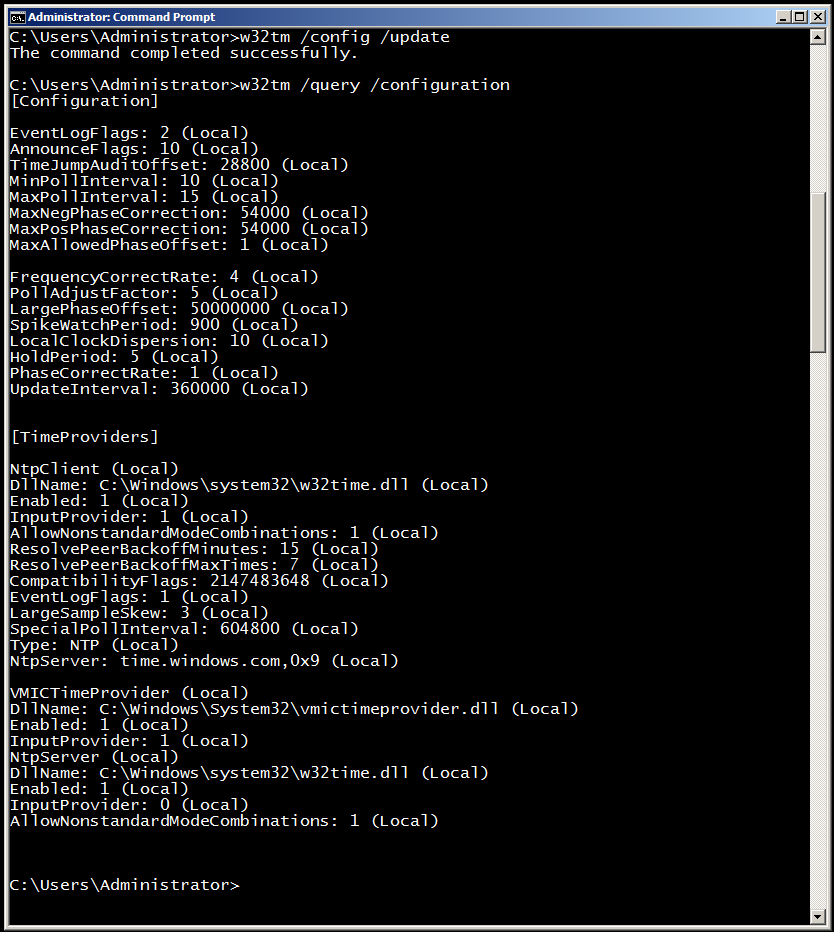
Notice in the VMICTimeProvider section that Enabled is set to 1. That’s the flag that enables NTP server in Windows. Because that’s the running configuration, Windows is now running as a NTP server.
Configuring DHCP Server Option
The final step is to add this server as a NTP Server on the DHCP Scope for the Private VLAN that the IP Phones are on.
Credit for this article goes to this blog post.


Comments: